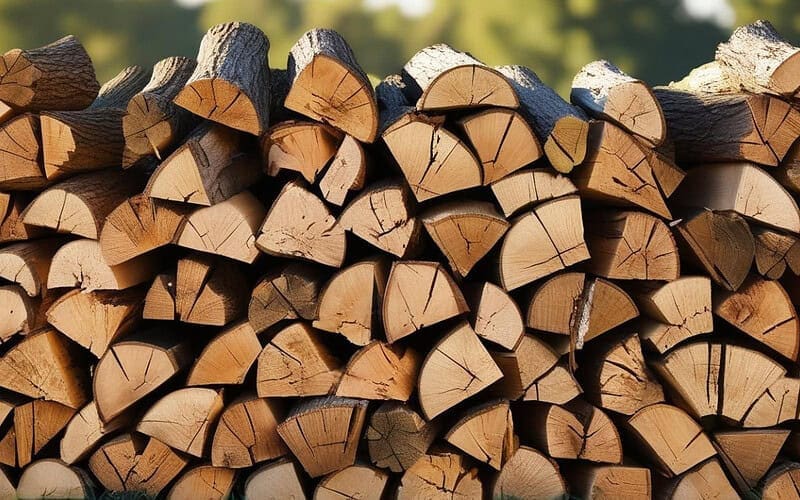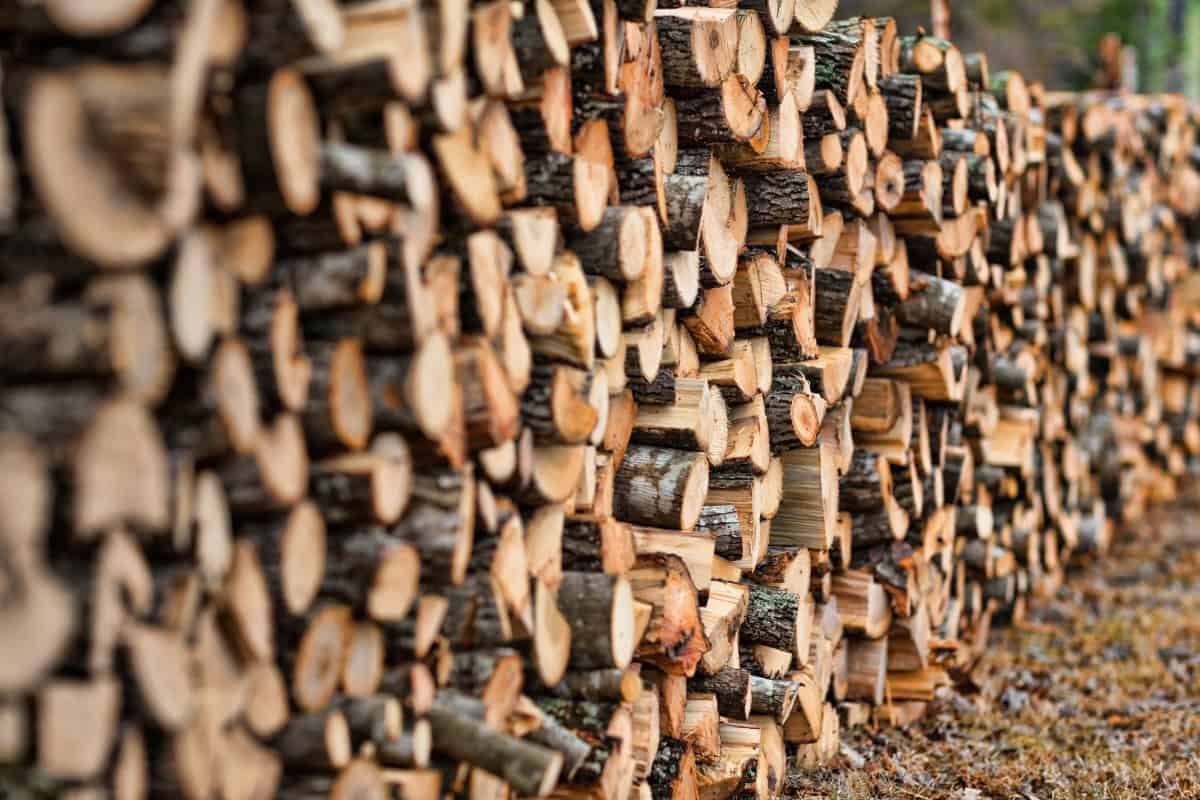
Learning how to stack firewood properly is essential for efficient burning, wood preservation, and maintaining safety around your home.
A well-built stack not only looks satisfying but serves crucial purposes: it allows your wood to season properly, protects it from moisture damage, keeps pests at bay, and ensures your fuel supply remains accessible throughout the burning season.
Whether you’re a seasoned wood burner or preparing for your first winter with a wood stove or fireplace, the time invested in properly stacking your firewood will pay dividends in better heat output, less smoke, and fewer frustrations when you need to grab logs on a cold night.
Knowing the right techniques and choosing the appropriate location can mean the difference between wood that burns clean and hot versus wood that’s damp, moldy, and difficult to light.
This guide will walk you through everything you need to know about creating stable, efficient firewood stacks that will serve you well throughout the season.
Understanding Firewood Terminology
Before diving into the details of how to stack firewood properly, it’s important to understand some key terminology that you’ll encounter in the wood-burning world.
These terms aren’t just industry jargon—they directly impact how you’ll purchase, store, and stack your firewood for optimal burning.
Whether you’re trying to calculate how much wood you need for the winter, determining if your wood is ready to burn, or simply trying to understand what your firewood supplier means by different measurements, these definitions will help you navigate the world of firewood with confidence.
Understanding these terms will not only help you communicate effectively with suppliers but also ensure you’re stacking your wood in a way that promotes proper seasoning and efficient burning.
What is a Cord of Firewood
A cord of firewood is the standard measurement unit in the firewood industry, representing a precisely defined volume of stacked wood that measures 4 feet high × 4 feet wide × 8 feet long, totaling 128 cubic feet of wood, air space, and bark.
When properly stacked for seasoning, a full cord contains approximately 600-800 pieces of split firewood (depending on size) and weighs between 2,500-5,000 pounds based on wood species and moisture content—with hardwoods like oak and maple being substantially heavier than softwoods like pine.
Understanding cord measurements is crucial when planning your firewood stacking projects because it helps determine how much space you’ll need, what support structures are necessary for stability, and whether you’re receiving the correct amount from suppliers—many firewood buyers have been shortchanged by receiving “loose thrown” deliveries that don’t actually stack up to a full cord, which is why knowing how to properly stack and measure your wood is an essential skill for anyone serious about heating with wood.
What Is a Face Cord?
A face cord (also known as a rick of firewood) is essentially a partial measurement of a full cord, and understanding the difference can save you money when purchasing firewood for your stack.
While a full cord measures a substantial 4 feet high × 4 feet wide × 8 feet long (128 cubic feet), a face cord maintains the same height and width (4 feet × 8 feet) but varies in depth based on the length of the individual logs—typically 12, 16, or 24 inches.
This means when you’re buying a face cord, you’re getting roughly one-third to one-half of a full cord depending on those log lengths, so it’s crucial to clarify with your supplier exactly what length cuts you’re getting to ensure you’re stacking the appropriate amount of wood for your needs and getting your money’s worth when purchasing.
What is Seasoned Firewood?
Seasoned firewood is wood that’s been properly split, stacked with good airflow, and dried over time to reduce its moisture content to 25% or less (with 20% being ideal), making it the gold standard for efficient burning in your fireplace or wood stove.
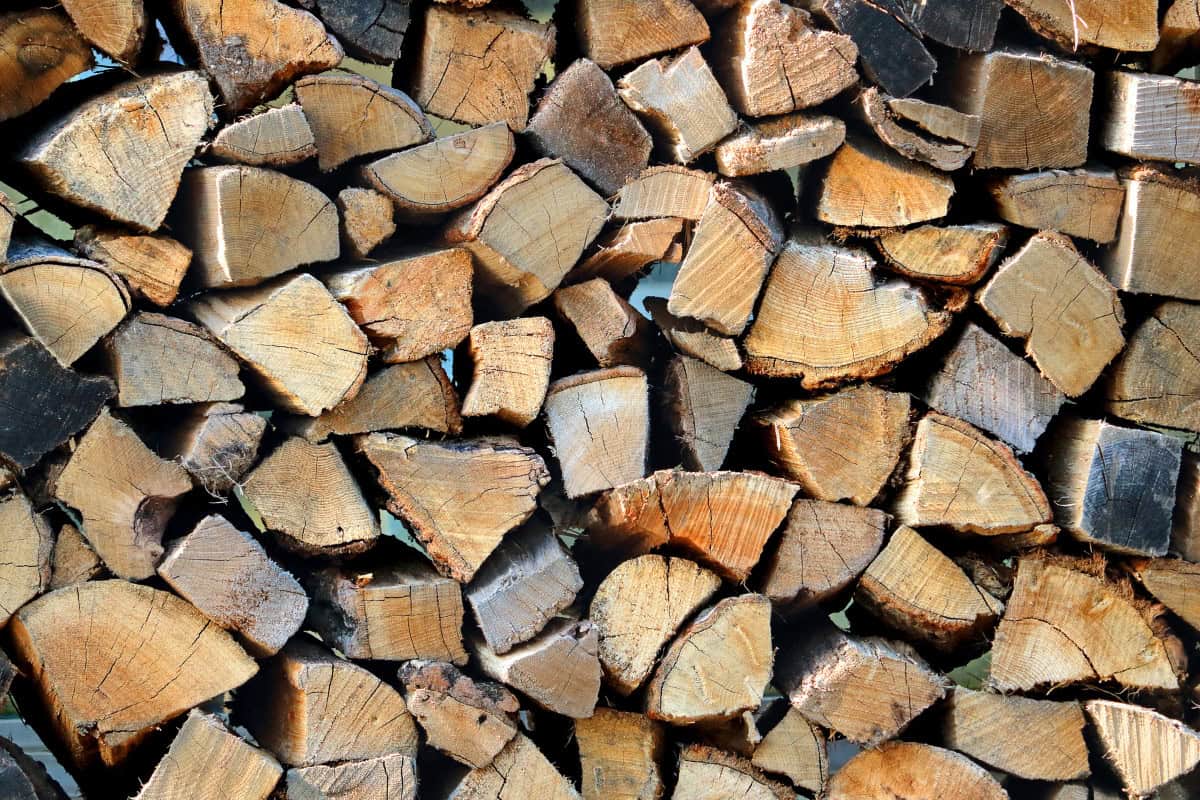
You can identify properly seasoned wood by its telltale gray color, lightweight feel, hollow sound when pieces are knocked together, and visible cracks radiating from the center—all indicators that the wood has shed enough moisture to burn efficiently without excessive smoke or creosote buildup.
The seasoning process typically requires six months to two years depending on wood species and your local climate, which is why properly stacking your firewood with adequate airflow between pieces is so critical to the seasoning process—good stacking technique directly impacts how quickly and effectively your wood seasons and ultimately how well it performs when you’re ready to burn it.
What is Green Firewood?
Green firewood is freshly cut wood that hasn’t gone through the seasoning process, containing moisture levels often exceeding 45%, which makes it problematic for efficient burning and proper stacking.
When you attempt to burn green wood, you’ll quickly notice the excessive smoke, difficulty in lighting, poor heat output, and potentially dangerous creosote buildup in your chimney—all because much of the fire’s energy is wasted boiling off the high water content rather than producing heat.
While you can certainly stack green wood (and should, to begin the seasoning process), it requires special consideration: stacking in a location with maximum sun exposure and wind movement, ensuring even better spacing between pieces for airflow, and accepting that your carefully built stack will shrink noticeably as the wood dries and contracts during seasoning, which might affect the stability of your stack over time if not properly built to accommodate this changing dimension.
Now that you understand the key terminology of firewood measurements and conditions, it’s time to focus on where to place your carefully measured wood for optimal seasoning and accessibility.
Choosing the right location for your firewood stack directly impacts how quickly your wood seasons, how well it stays protected from the elements, and how convenient it will be to access when temperatures drop.
Let’s explore the factors that make for an ideal firewood stacking location to ensure your wood dries efficiently and remains in prime condition throughout the season.
Choosing the Right Location for Your Firewood Stack
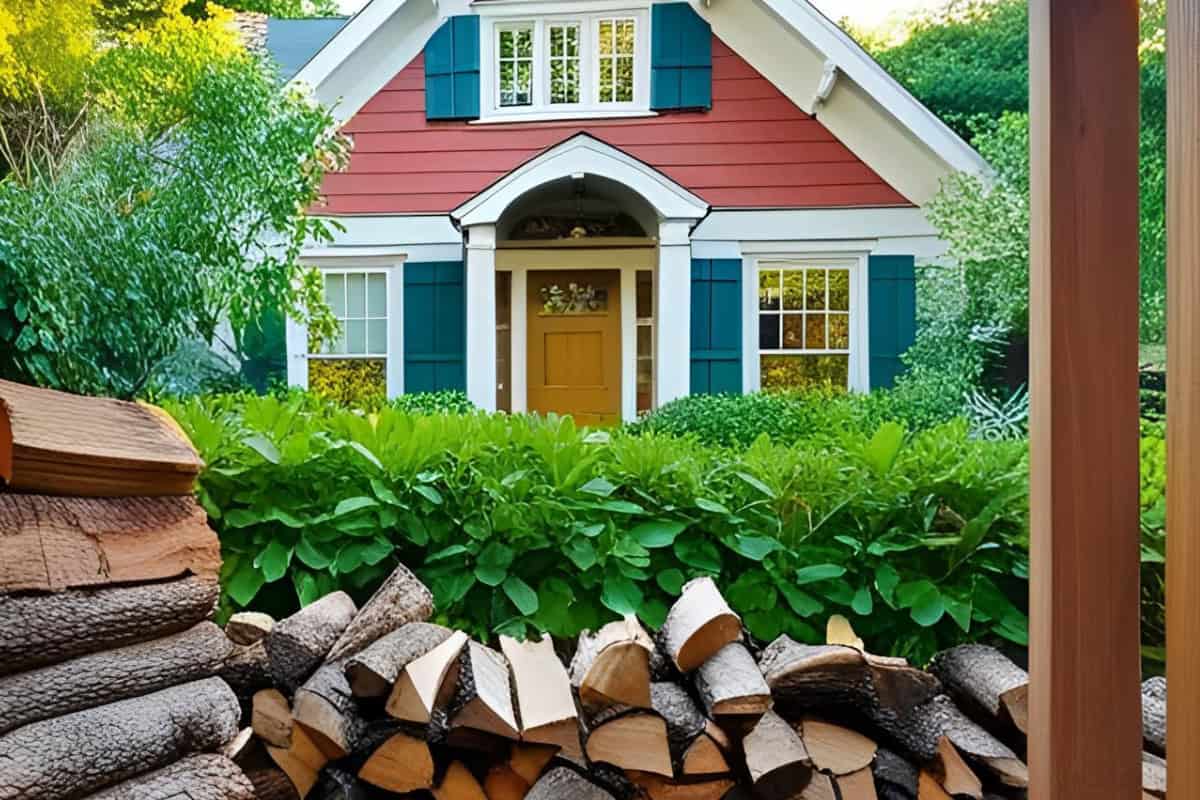
The location of your firewood stack greatly impacts how well your wood seasons. A strategic spot ensures faster drying and better protection from the elements.
Consider these key factors when selecting the perfect location for your stack.
Maximizing Sun Exposure and Airflow
Position your firewood stack where it receives ample sunlight throughout the day. South-facing locations work best in the northern hemisphere.
Also, place your stack where prevailing winds (typically west to east in the U.S.) can blow through it. Wind and sun together accelerate the seasoning process dramatically.
Avoid low-lying areas where moisture collects or spots with poor air circulation.
Keeping Wood Off the Ground
Never stack firewood directly on bare soil. Moisture from the ground will seep into your bottom row and cause rot. Use pallets, pressure-treated 4×4s, or railroad ties as a foundation.
This simple step prevents decay and pest infestations. Your base should span the entire length of your planned stack for maximum stability.
Elevated wood also benefits from better airflow underneath the stack.
Now that you understand where to place your firewood stack for optimal seasoning, let’s explore the different types of stacks you can build.
Each stacking method has unique advantages and considerations. Your choice will depend on your available space, aesthetic preferences, and practical needs.

Firewood Stack Types
Different stacking methods offer unique benefits for wood storage and seasoning.
Each has its place depending on your situation and preferences. Let’s explore the most popular firewood stacking methods.
Traditional Rectangular Stack
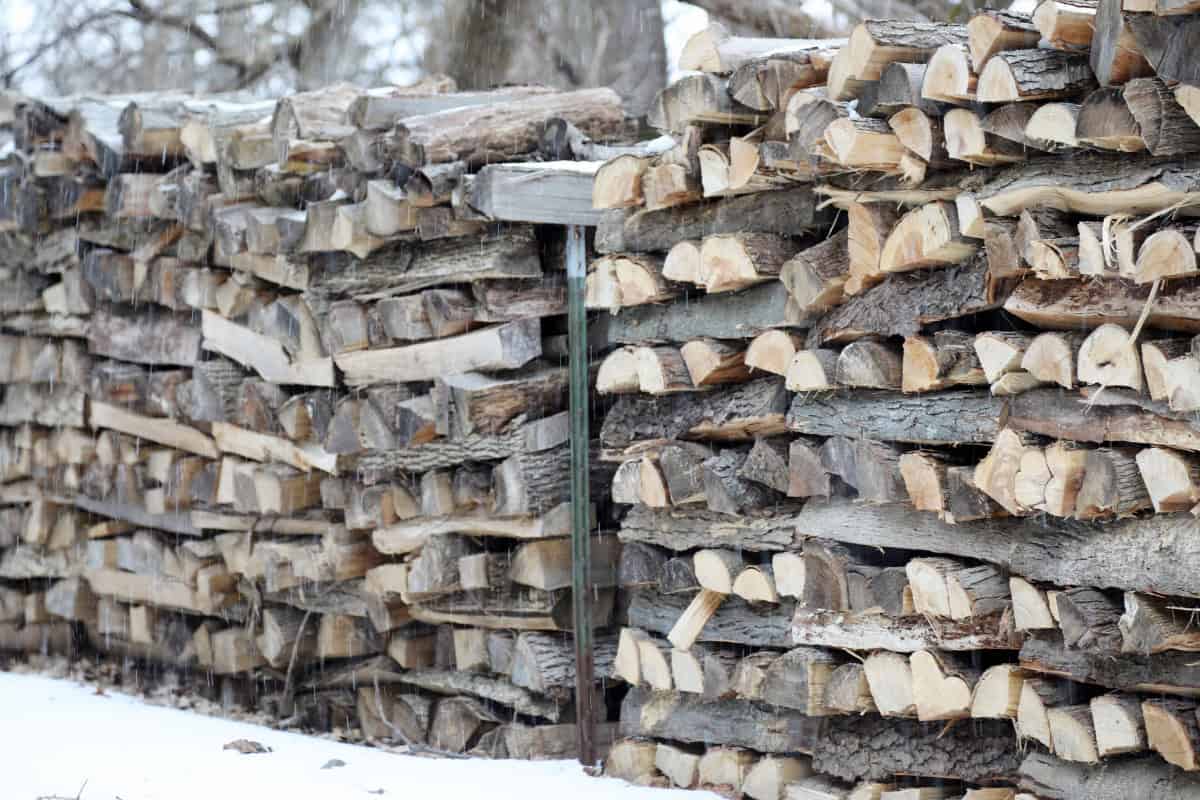
The rectangular stack is the most common method in the United States. It consists of rows of firewood stacked between two end supports.
This method is straightforward and maximizes your storage space effectively. Start by placing logs side by side in neat rows.
Alternate the direction slightly with each new layer for better stability. Build your stack to about 4 feet high for optimal stability.
Always place larger pieces at the bottom and smaller pieces toward the top.
Holz Hausen (Beehive) Method
The Holz Hausen, also called a beehive stack or Amish stack, offers excellent stability and visual appeal. This circular stack works through an ingenious design that promotes airflow.
Build the outer wall by placing logs with their split faces outward and bark facing inward. Angle these logs slightly toward the center.
Fill the interior with randomly placed logs for stability. This method works best when you have ample space to accommodate its circular footprint.
Using Firewood Racks
Commercial or homemade firewood racks provide excellent support and convenience. These structures feature fixed vertical supports that keep your stack stable.
Many include covers that protect the top of your stack from precipitation. Racks also typically elevate wood off the ground automatically.
When stacking in a rack, follow the same principles as a rectangular stack. Place pieces loosely but securely with good overlap between logs.
Avoid jamming pieces tightly together as this restricts airflow.
How to Build a Stable Firewood Stack
The stability of your firewood stack is crucial for safety and convenience. A collapsed stack wastes your time and can be dangerous.
Using these proven methods to create a stack that stays upright all season long.
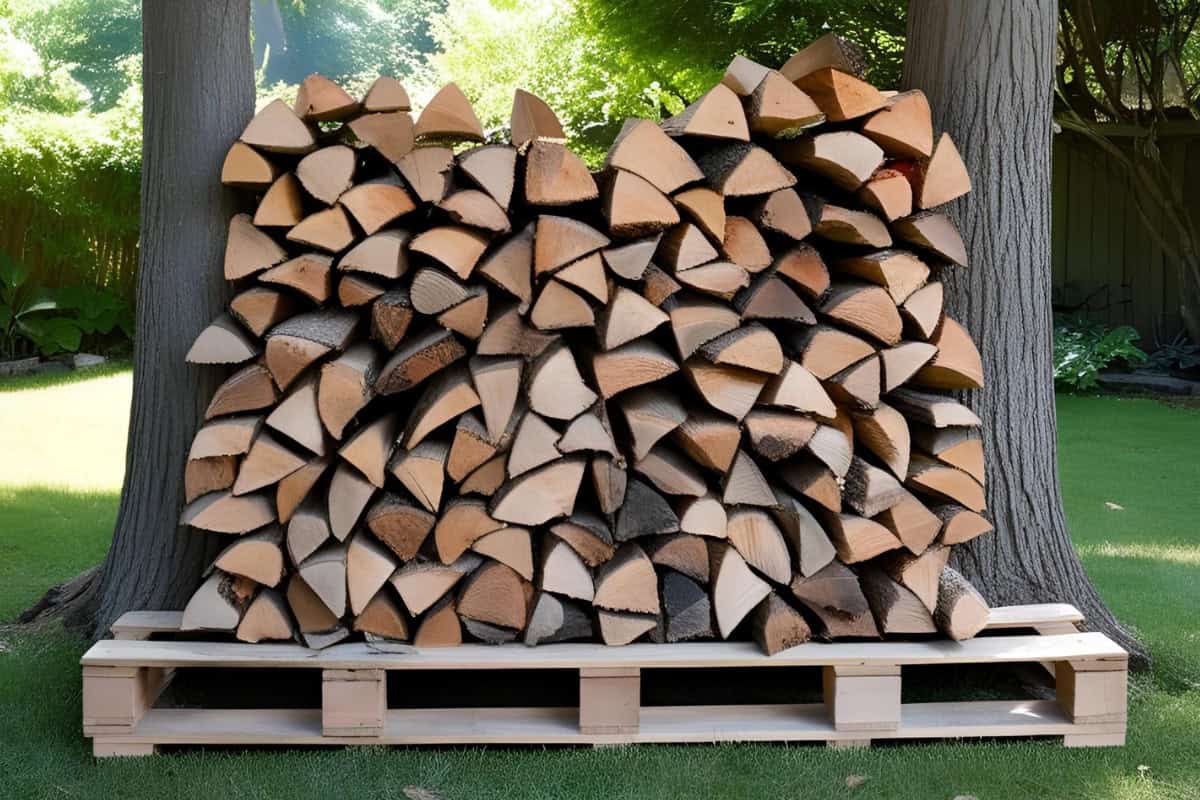
Using Trees as Support
Trees make excellent natural supports for your rectangular firewood stack. Select two healthy trees spaced about 8 feet apart for ideal support.
Avoid using trees that show signs of disease, rot, or insect infestation. The trees should be sturdy enough to withstand the pressure of your stack.
This method requires no additional materials and provides excellent stability for your stack.
Building Criss-Cross Stack Columns
When trees aren’t available, create criss-cross columns using your firewood. Start by laying two pieces parallel about 8 feet apart.
Place two more pieces perpendicular on top. Continue this pattern until you reach your desired height. These columns should match the planned height of your main stack.
The interlocking pattern creates remarkable stability without additional materials. These columns work perfectly as bookends for your rectangular stack.
Row-by-Row Stacking Technique
Always build your stack one complete row at a time for maximum stability. Don’t build up one side first and then fill in the rest.
Place each piece deliberately with split sides facing out. Allow small gaps between pieces for airflow. Each piece should overlap with pieces below it for interlocking strength.
Avoid stacking like a perfect puzzle with pieces jammed together tightly. Remember that stability and airflow are your primary goals.
With your solid understanding of stable stacking techniques, let’s now consider where to store your firewood long-term.
The decision between indoor and outdoor storage affects both your wood quality and convenience.
Each option has distinct advantages and challenges that impact how your wood seasons and how easily you can access it when needed.
Indoor vs. Outdoor Firewood Storage
Whether to store your firewood indoors or outdoors is an important consideration. Your choice affects wood quality, convenience, and home safety.
Let’s examine both options to help you make the best decision.
Considerations for Indoor Storage
Indoor firewood storage offers immediate access during cold weather but comes with several cautions.
Only store kiln-dried firewood indoors to avoid introducing insects to your home. Small amounts of seasoned outdoor wood are acceptable for immediate use.
Indoor spaces often lack the airflow needed for proper seasoning of green wood. Consider using a dedicated shed with good ventilation for a compromise solution.
Remember that indoor storage takes up valuable living or garage space that could serve other purposes.
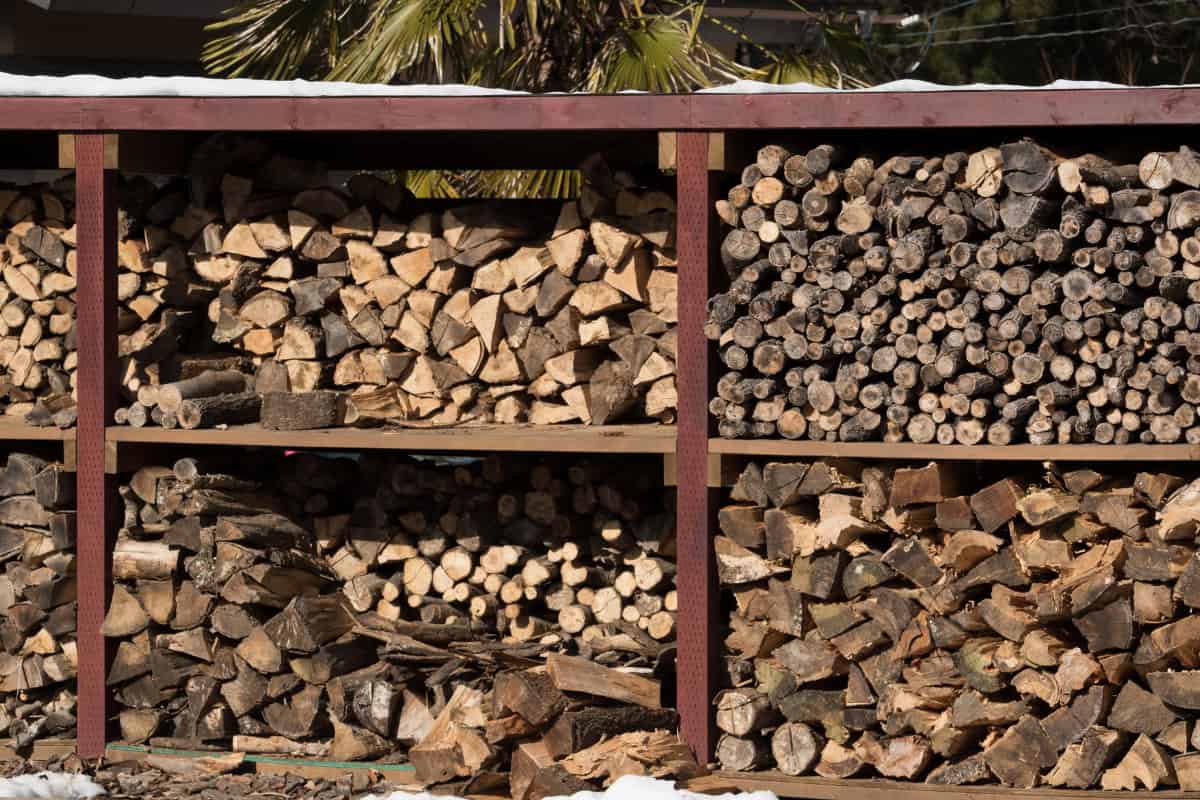
Protecting Outdoor Stacks from Weather
Outdoor storage provides excellent airflow but requires protection from excessive moisture. Consider using a cover that doesn’t directly touch the wood.
This prevents both rain penetration and condensation buildup. Store-bought racks often include protective covers with proper spacing.
Pro Tip: Create a small, accessible “ready box” near your heating appliance to minimize trips to your main stack during harsh weather. Fill this indoor box with enough wood for 2-3 days of burning, rotating stock regularly from your main outdoor pile. Use a decorative rack, vintage crate, or purpose-built container that complements your interior design while keeping bark, bugs, and debris contained. This two-stage system gives wood a chance to warm up to room temperature before burning, which improves ignition and reduces smoke production. Just remember to replenish your ready box during daylight hours or milder weather rather than venturing out to your main stack in darkness or stormy conditions.
You can also create a simple overhead shelter using a tarp suspended above the stack. This allows for maximum airflow while protecting against direct precipitation.
Position your stack where it’s protected from prevailing winds during stormy seasons.
Firewood Stacking Safety and Best Practices
Proper firewood handling techniques protect both you and your wood supply. Following these guidelines prevents injuries and maintains wood quality.
Your safety should always be the top priority when working with firewood.
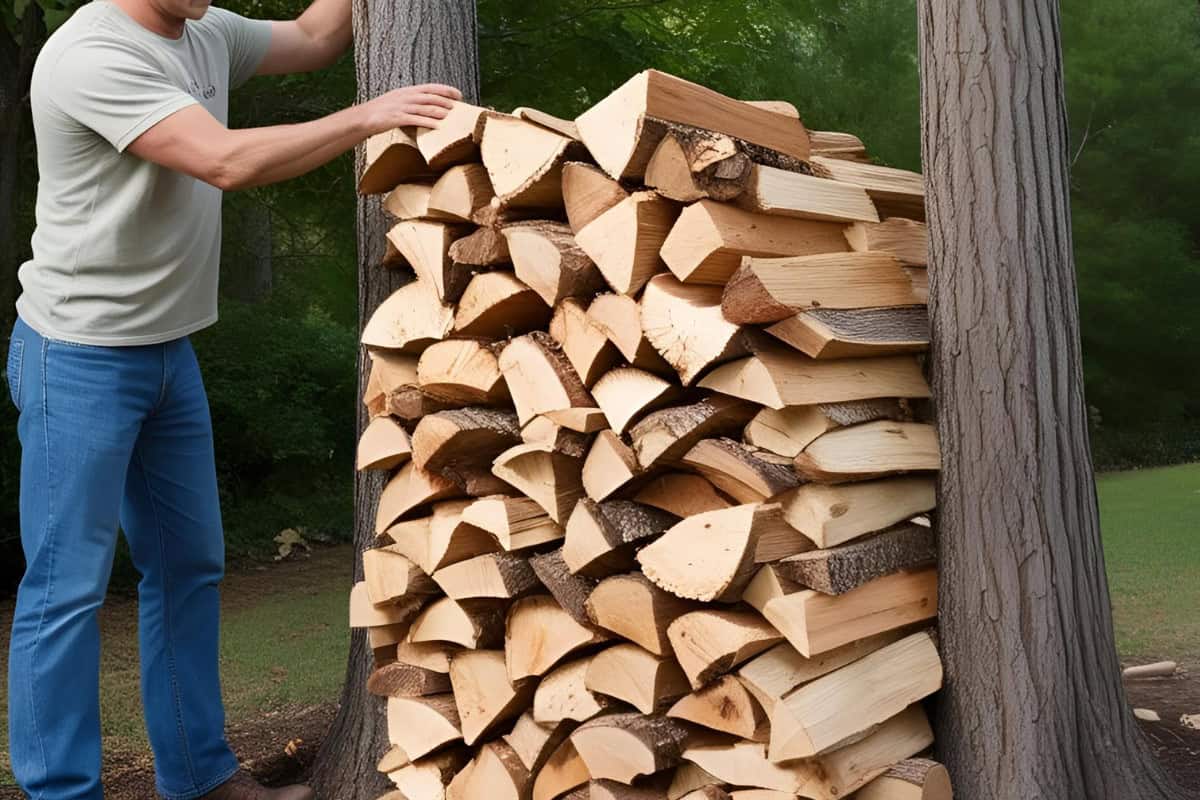
Preventing Stack Collapse
Build your stack on level ground for maximum stability. Keep the height reasonable—4 feet is generally the maximum recommended height.
Ensure your end supports are sturdy and well-anchored. Periodically check your stack for signs of leaning or instability.
If you have children around, consider building shorter stacks to reduce fall risks. Remove wood from the top of the stack first to maintain balance as you use your supply.
Proper Lifting and Handling
Always lift with your legs, not your back, when handling firewood. Wear sturdy gloves to protect against splinters and sharp edges.
Use proper tools like a log carrier when moving multiple pieces. Take breaks when processing large amounts of wood to avoid fatigue.
Consider the weight of different wood species when planning your stacking sessions. Oak and maple are significantly heavier than pine and spruce.
Benefits of Firewood Stacking
Stacking firewood provides excellent physical exercise while preparing your winter heat source. According to Harvard Medical School, a 155-pound person burns approximately 223 calories in just 30 minutes of stacking wood.
The activity builds upper body strength and improves cardiovascular health. Beyond the physical benefits, many people find stacking wood meditative and satisfying.
There’s something deeply rewarding about creating a neat, orderly stack that will keep your home warm through winter.
Moving from safety considerations to practical firewood preparation methods, let’s examine the differences between kiln-dried and naturally seasoned wood.
Understanding these distinct processing techniques will help you make informed decisions about your firewood supply.
Each method offers unique advantages depending on your specific needs and timeline.
Kiln-Dried Firewood vs. Naturally Seasoned
The method used to dry your firewood significantly impacts its burning quality. Both kiln-dried and naturally seasoned options have distinct advantages.
Understanding these differences helps you choose the right wood for your needs.
How Kiln-Dried Wood is Processed
Kiln-dried firewood undergoes an accelerated drying process in a controlled environment.
According to firewood suppliers like Carolina Morning, green wood spends about two days in specialized kilns at 250 degrees Fahrenheit.
This process rapidly reduces moisture content to an optimal 15-20% level. The intense heat also eliminates insects, larvae, and mold in compliance with USDA guidelines.
One impressive benefit is moisture removal—nearly 1,000 pounds (about 120 gallons) of water gets extracted from each cord.
This process creates immediately burnable wood without the waiting period required for natural seasoning.
Comparing Seasoning Methods
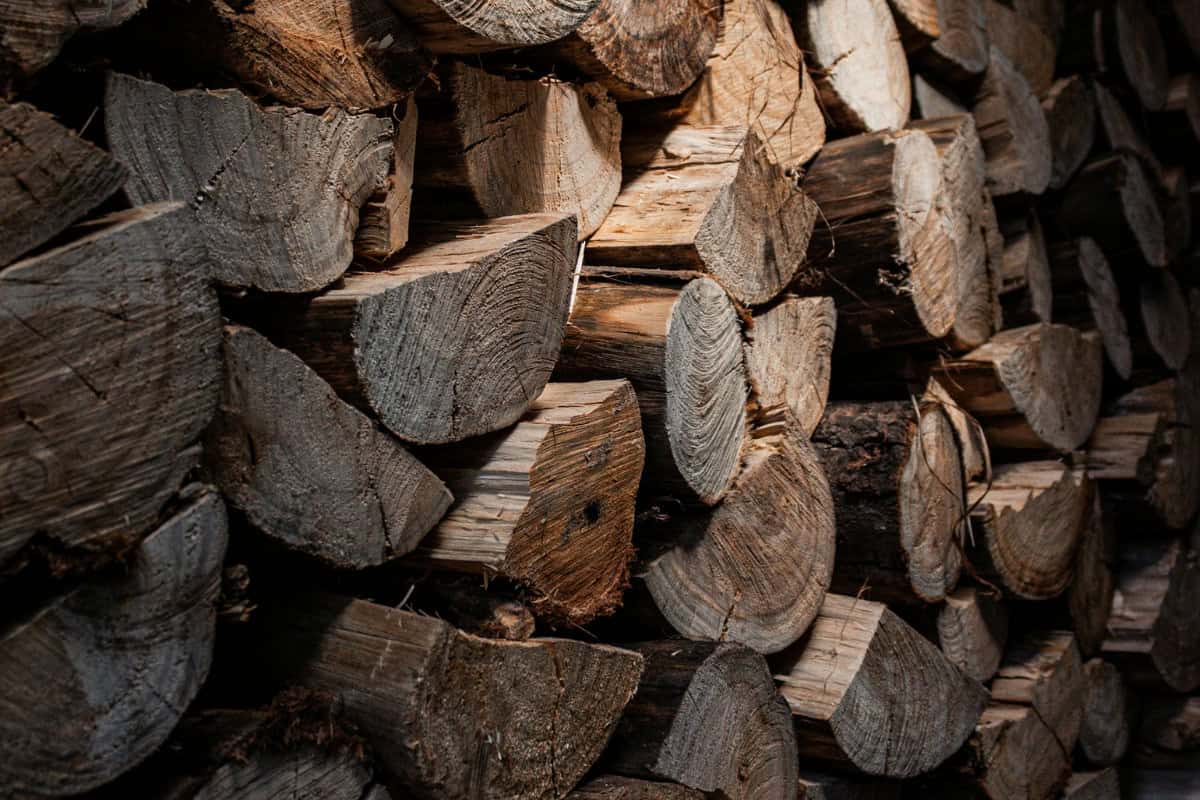
Natural seasoning relies on time, sunlight, and airflow to dry wood gradually. This method typically takes six months to two years depending on your climate and wood species.
Kiln-dried wood costs more but offers immediate use and pest-free guarantees. Naturally seasoned wood costs less but requires proper stacking and patience.
Pro Tip: To accurately assess if your naturally seasoned wood is ready for burning without purchasing a moisture meter, create “testing splits” from various parts of your woodpile. Select 3-4 representative logs from different sections, split them in half with a clean cut, and mark the newly exposed surfaces with the current date using a permanent marker. Return these testing splits to their original positions in your stack with the fresh surface exposed to air. Check these marked pieces weekly—when the fresh faces have grayed to match the color of your older splits and have developed visible checking (small cracks radiating from the center), those sections of your woodpile are approaching ideal burning condition. This visual inspection method has been used by experienced wood burners for generations and costs nothing while providing section-specific readiness information.
Many experienced wood burners prefer the subtle aroma of naturally seasoned hardwoods.
Others appreciate the convenience and consistency of kiln-dried options.
Your choice depends on your timeline, budget, and personal preferences.
Wrap-up: How to Stack Firewood
Learning how to stack firewood properly is both a practical skill and a rewarding activity. A well-built stack ensures your wood seasons efficiently while staying protected from the elements.
The time you invest in creating stable, well-ventilated stacks pays off with better burning performance all season long.
Whether you choose a traditional rectangular stack, a decorative Holz Hausen, or a convenient rack system, the principles of good airflow, stability, and moisture protection remain the same.
Remember that proper stacking directly impacts how well your wood burns in your fireplace or stove.
Well-seasoned wood produces more heat, less smoke, and fewer creosote deposits in your chimney.
Your carefully built stack also creates a safe environment around your home while providing easy access to fuel throughout the winter months.
Next time you’re facing a pile of unsorted firewood, approach the task with confidence. Apply these techniques and enjoy not just the warmth of your fires but also the satisfaction of a job well done.
As the Norwegians say, chopping and stacking wood warms you twice—once when you stack it and again when you burn it.
Suggested Resources
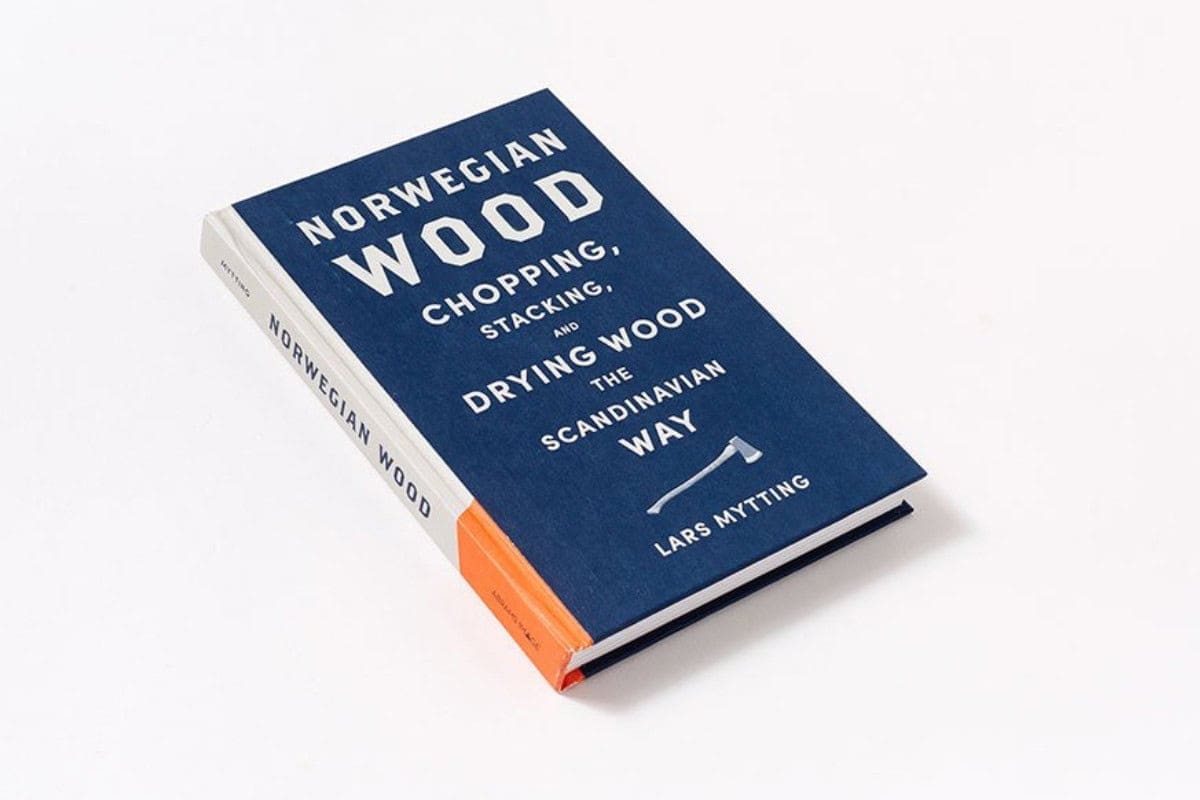
For those looking to dive deeper into the art of firewood preparation, I highly recommend “Norwegian Wood: Chopping, Stacking, and Drying Wood the Scandinavian Way” by Lars Mytting (Abrams Image Publishing, 2015).
This surprisingly entertaining book offers fascinating insights into traditional Scandinavian approaches to firewood management.
You’ll find it at your local bookstore, library, or through online retailers.
The combination of practical advice and cultural perspectives makes it a worthwhile read for anyone serious about heating with wood.
Check it out on Amazon —> https://amzn.to/4cTdXtF
Also, for more firewood related content, check out our Ultimate Fire Pit Firewood Buyers Guide!
Thanks for reading, and happy stacking!
FAQs: How to Stack Firewood
Protecting your firewood stack from wildlife and pests requires multiple preventative strategies working together.
First, keep your stack elevated at least 6-8 inches off the ground to prevent moisture wicking and to deter ground-dwelling insects and rodents that prefer easy access.
Create a clear perimeter of at least 2 feet around your stack free of tall grass, leaf litter, and debris that could harbor pests or provide hidden pathways to your wood.
Consider treating the ground beneath and around your stack with food-grade diatomaceous earth, which deters many crawling insects without harmful chemicals.
For rodent prevention, some wood burners place steel mesh (hardware cloth) under their stacks or wrap the bottom two rows, though this can inhibit airflow slightly.
Never use chemical pesticides directly on firewood as these compounds can release toxic fumes when the wood is burned.
Finally, regular wood rotation using a first-in, first-out approach ensures no section of your stack becomes a permanent home for unwanted critters.
In extremely wet or humid climates, your firewood stacking technique requires specific adaptations to combat the persistent moisture.
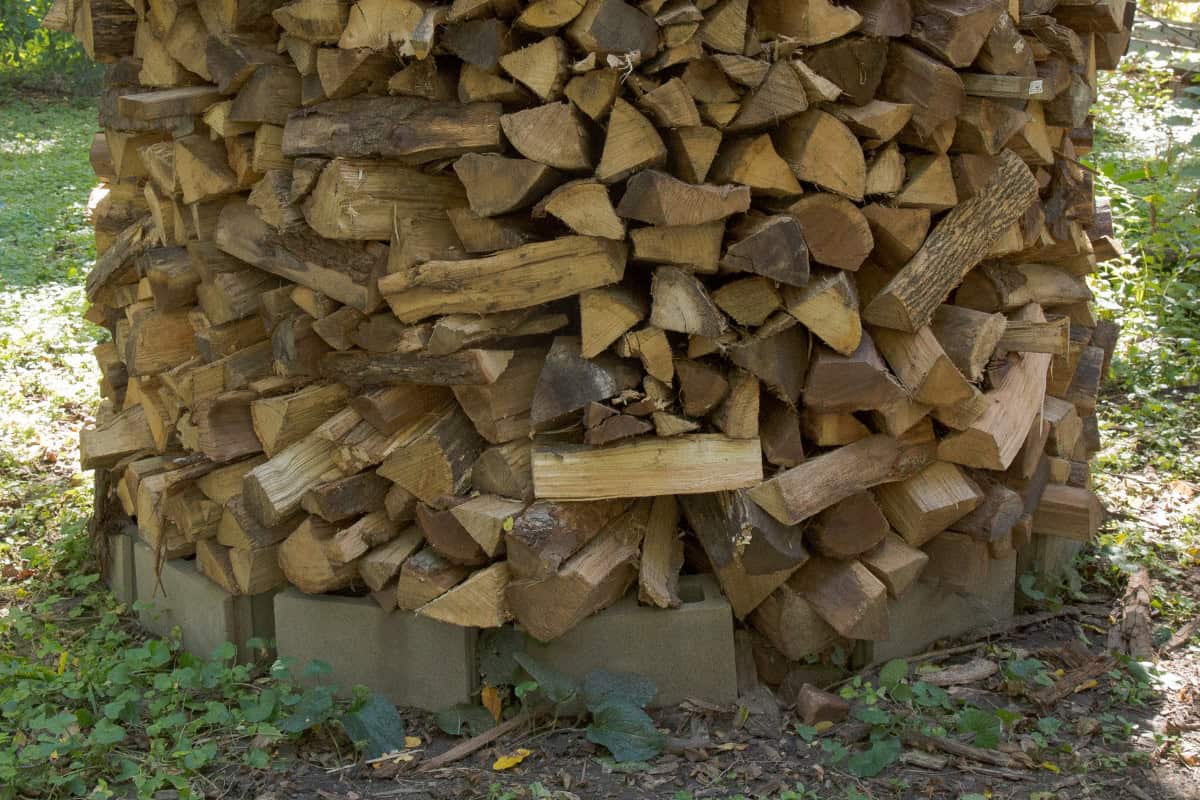
First, elevation becomes even more critical—increase your base height to 10-12 inches using concrete blocks or thick pressure-treated lumber to create maximum separation from ground moisture.
Consider creating a slight slope in your foundation (1-2 inches higher at the back than the front) to encourage water runoff.
Space your wood pieces with slightly larger gaps than normal—about 1-2 inches between major sections—to maximize airflow in humid conditions.
A covered stack becomes essential, but avoid using tarps that touch the wood; instead, create a proper roof structure with at least 12 inches of overhang on all sides and 6-8 inches of clearance above the top of your stack.
In very humid regions, consider building your stack in a location that receives both morning and afternoon sun with strong cross-breezes, even if this means placing it farther from your home than would be convenient in drier climates.
Finally, accept that seasoning times will be significantly longer—often 1.5-2 times longer than in moderate climates—so plan accordingly by establishing a multi-year rotation system for your wood supply.
When organizing your firewood stack for maximum burn efficiency, understanding the heating values of different wood species allows you to create a strategic arrangement.
Hardwoods like oak, hickory, maple, and ash provide the highest BTU outputs and should comprise the bulk of your winter heating supply, while softer woods like pine and spruce make excellent kindling and shoulder-season fuels when less intense heat is needed.
Consider creating a three-zone stacking system: your main winter supply of dense hardwoods protected in the most weather-resistant location; medium-density woods like cherry and birch in a secondary, easily accessible stack for moderate weather; and a small kindling section of soft woods near your point of entry.
When stacking multiple species together, place slower-seasoning woods like oak and hickory on the bottom and edges where they receive maximum airflow, while faster-drying species like ash can go in the center.
For the most efficient burning, organize your stack chronologically based on when the wood was split, using older, better-seasoned wood first.
Some experienced wood burners even create labeled sections or use chalk markings to track different species and their splitting dates, allowing for precise wood selection based on the specific heating needs of any given day.

